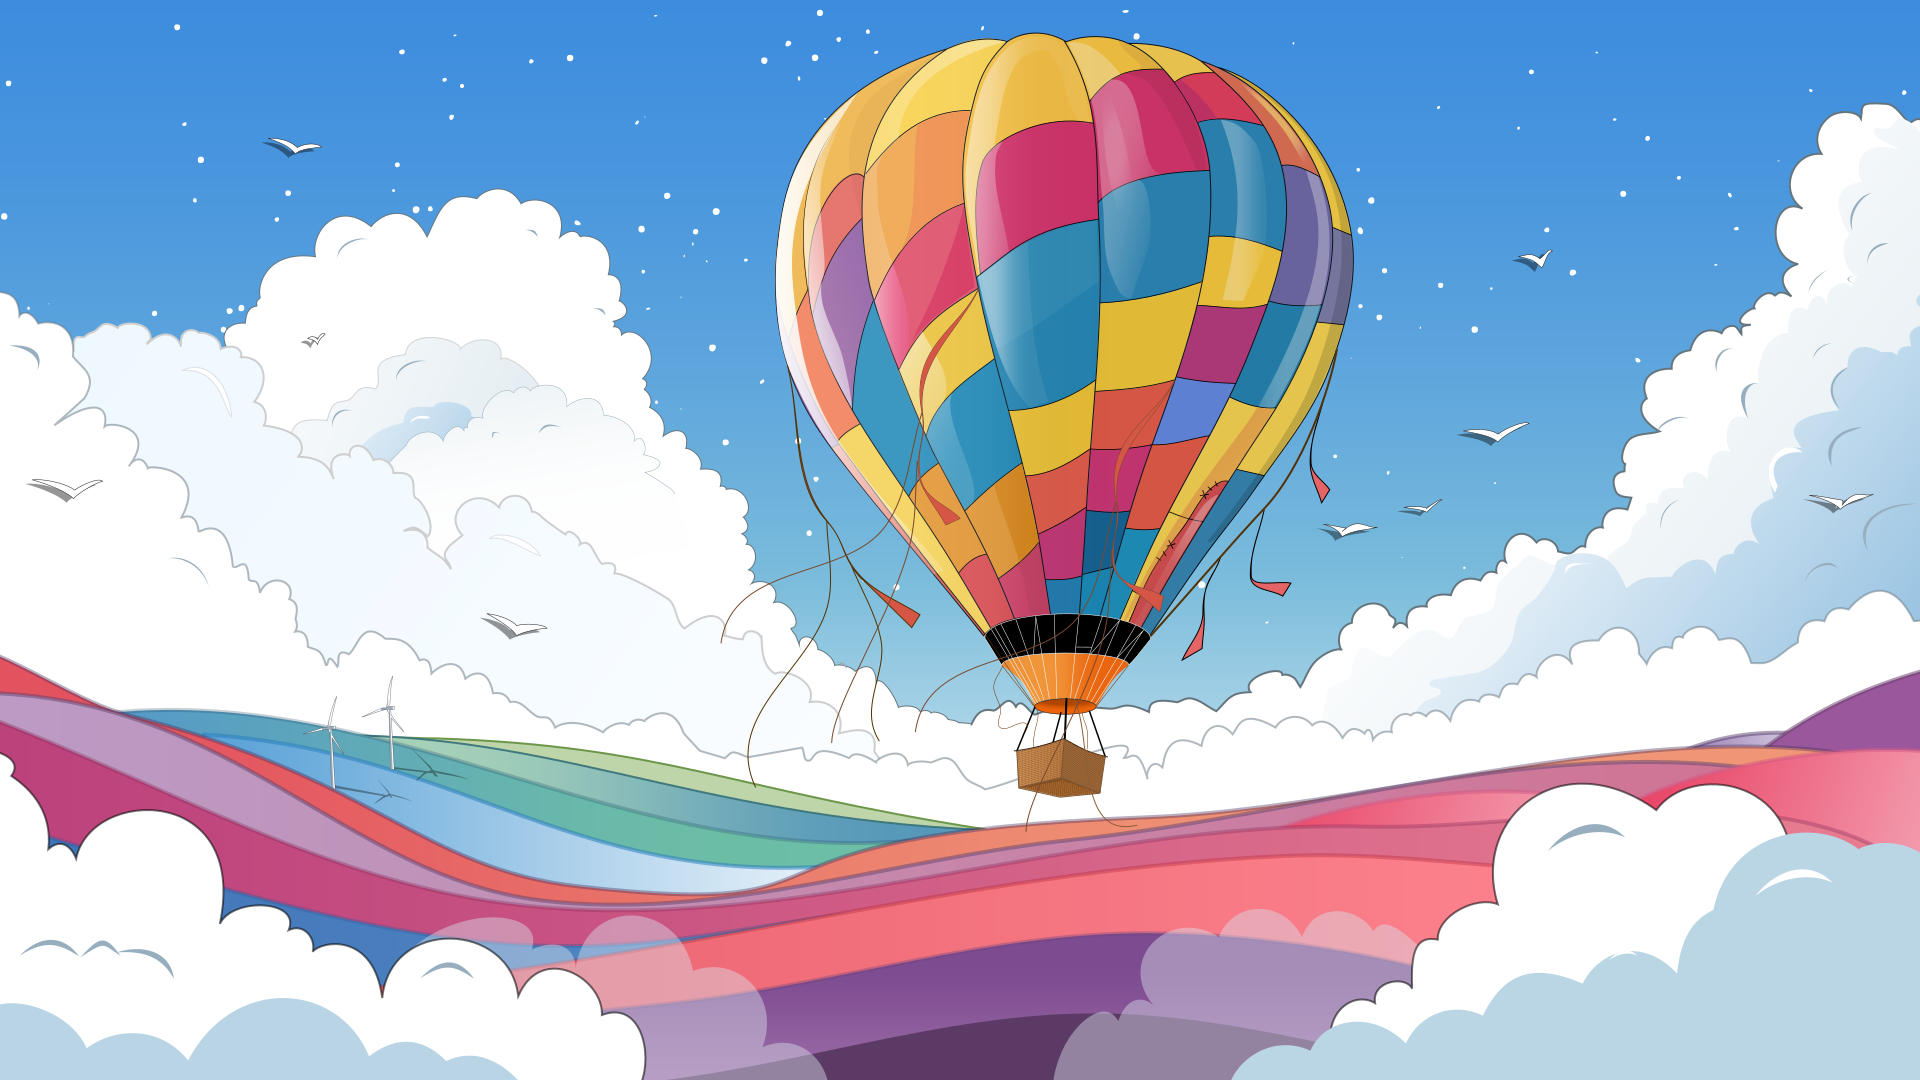
Vector art made with the new vector tools in Karaz 1.0
After three -and a half- betas, we are happy to finally introduce the final and biggest stage of the beta / the start of the final release, the Release Candidate (RC) of Karaz 1.0, and it is the biggest release yet, to the point that we can’t cover everything added in it, but we will cover the major additions, so let’s get right into what Karaz 1.0 has to offer.
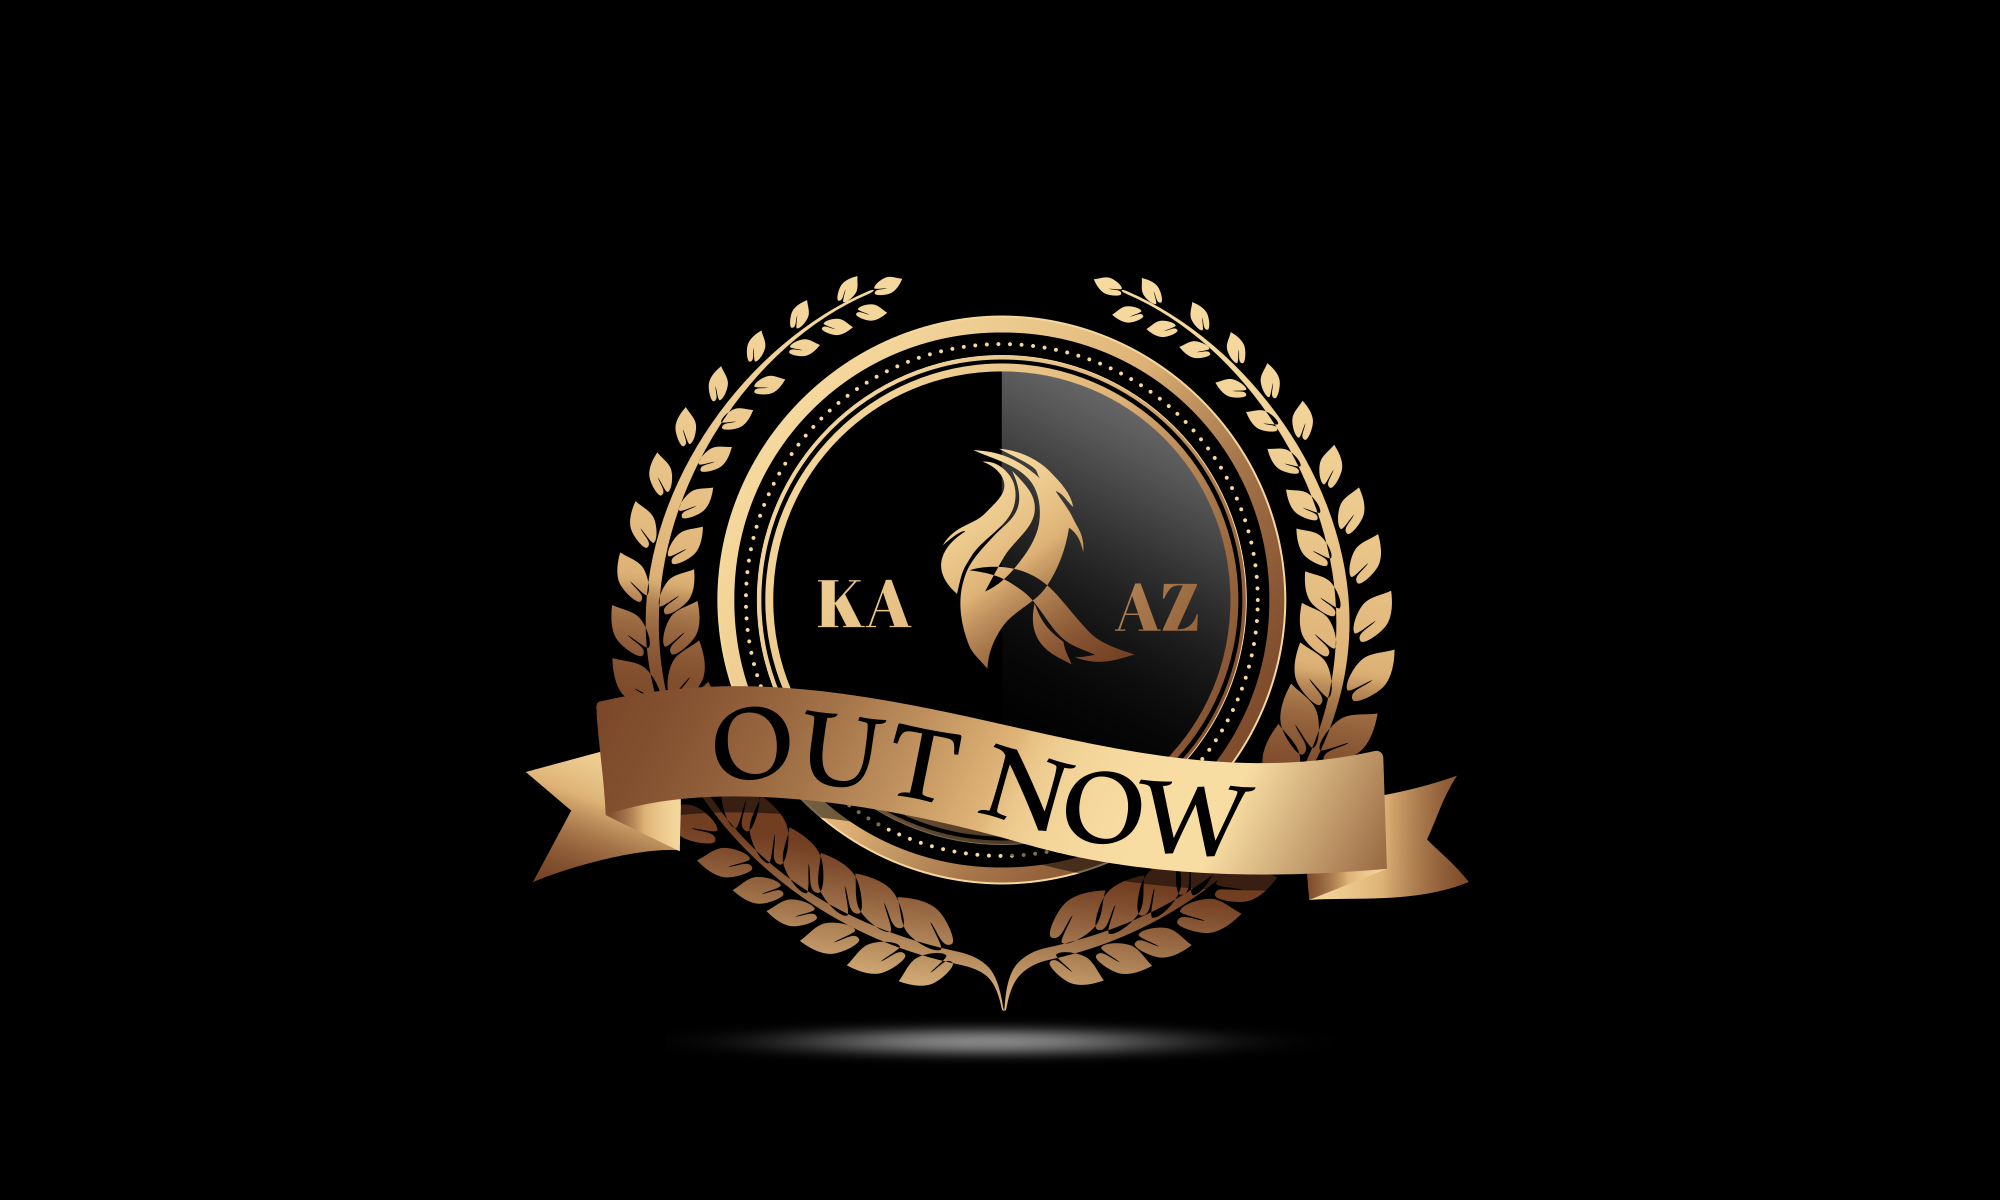
Vector logo made with Karaz 1.0
Let’s start with the Karaz 1.0 main feature, the vector system, also known as the spline or the path system. It’s a powerful and fully featured path making and editing toolset, from creation of paths, to shaping them, and using them to either create vector graphics like logos and icons, and all forms of vector art, then exporting that as ready to use svg files, the standard vector format, or use those paths to make high quality selections and masks and more.
Practically infinite sharpness is one of the main advantages of vector graphics
You can learn about this new system and how to use it in 3 lessons: vector basics lesson, where the basics of how to make and use paths in Karaz are explained, including how to use the main vector element in Karaz, the “Vector” node. Vector intermediate lesson, where we use the Karaz 1.0 vector toolset to make a vector graphic of a logo. And finally the vector advanced lesson, where we create a vetor art of a hot air balloon from scratch:
You can learn about this new system and how to use it in 3 lessons:
Multiple images being edited and saved at once with the new batch nodes “Open” and “Save”
Next is the second major feature in Karaz 1.0, batch processing and saving with the "Open" and "Save" nodes. With batch processing, you can open hundreds of images in one "Open" node, apply the same operations to them then save them all at once with a "Save" node.

"Open" node allows to open any amount of images you want, and those images are updated automatically if their files on disk are changed, then you can apply any node setup you want to them, and add a "Save" node at the end, where you can specify where to save and what prefixes or suffixed you want to add the newly saved images, then batch save everything at once with one click.
Automatically vectorize pixel images into perfectly sharp vector images
Next is a path related feature “Vectorize Canvas Silhouette”, where you can take any pixel based binary image and turn it into a vector image by automatically vectorizing it and turning it into paths. For details on how to use this feature, please watch the vector basics tutorial.
Copy images along a path that automatically scale to perspective
Next is our first path dependent node in Karaz: “Copy Along Path” node. With it you can take any pixel based image and make multiple copies of it along a path. The node also supports perspective scaling, making a vanishing series of objects trivial to create.
Grid basd image Deformation
With “Deform” node, also known as “Warp” node, you can take any image and deform it either wholly, or partially by either a point grid, or a path. You can make local touches, or change the general shape of the object in the image. You can also fix lens distortions and apply perspective correction.
Array node had a complete design overhaul, the new design is not only capable of doing all what the old design did, but it does it in a more organized fashion where the less common operations are not shown by default, and when you need them, they can do more than what the original could.
3D rotation used to add an 80s style grid
The Rotate node now has a new ability if 3D rotating the image, where you can rotate the image in all 3 (x,y,z) axes, move it and scale it around 3D space, complete with perspective FOV control.
We have a couple new ways to select, first is “Outline”, also know as “Free Hand”, where you can select by drawing any shape with the mouse. You can also turn any path into selection by right clicking on the vector node and picking “Turn/add to selection”.
In the “Hue” node, in addition to the HSV color space, you can now change the image colors in the HCL color space, also known as LCh color space. HCL is similar to HSV, but it’s designed around the perceived colors to the human eye, giving a more natural and less harsh color shift than HSV.
Interpolation option were added to the Symmetry node, and blending option is added when the “all sides” option is checked.
There is too much in Karaz 1.0 to cover, here is some of the highlights:
After the big feature release that was Beta-2, Beta-3(including 3.1) is a major polish, performance and quality of life release, but a good number of new features snuck their way in, here are the highlights:Let's stat with a fun new addition: the outline gradient, it can be used to make many fun effects like these:Text effect with outline gradient
Silhouette effect with outline gradient
Long shadow is the type of shadow cast by mountains and trees, basically any light coming to the object at an angle. A common use -besides the evident use of regular realistic shadows- is the stylistic infinite shadows, for things like text.Long shadow can be used to give a realistic shadow effect on the wall
Infinite Long shadow is a popular text effect
And of course you can -like all other shadow effects- change the “shadow” color to anything you want:
“Shadows” can be colorful
Inner shadow is similar to drop shadow, requires transparency, but the difference is that it shades the inside of the image itself rather than the outside. It can be used in many things, such as an engraving effect, lighting effect, both as shading and highlighting -as you can set the "shadow" color to white to give a highlight effect- or just to add a nice gradient.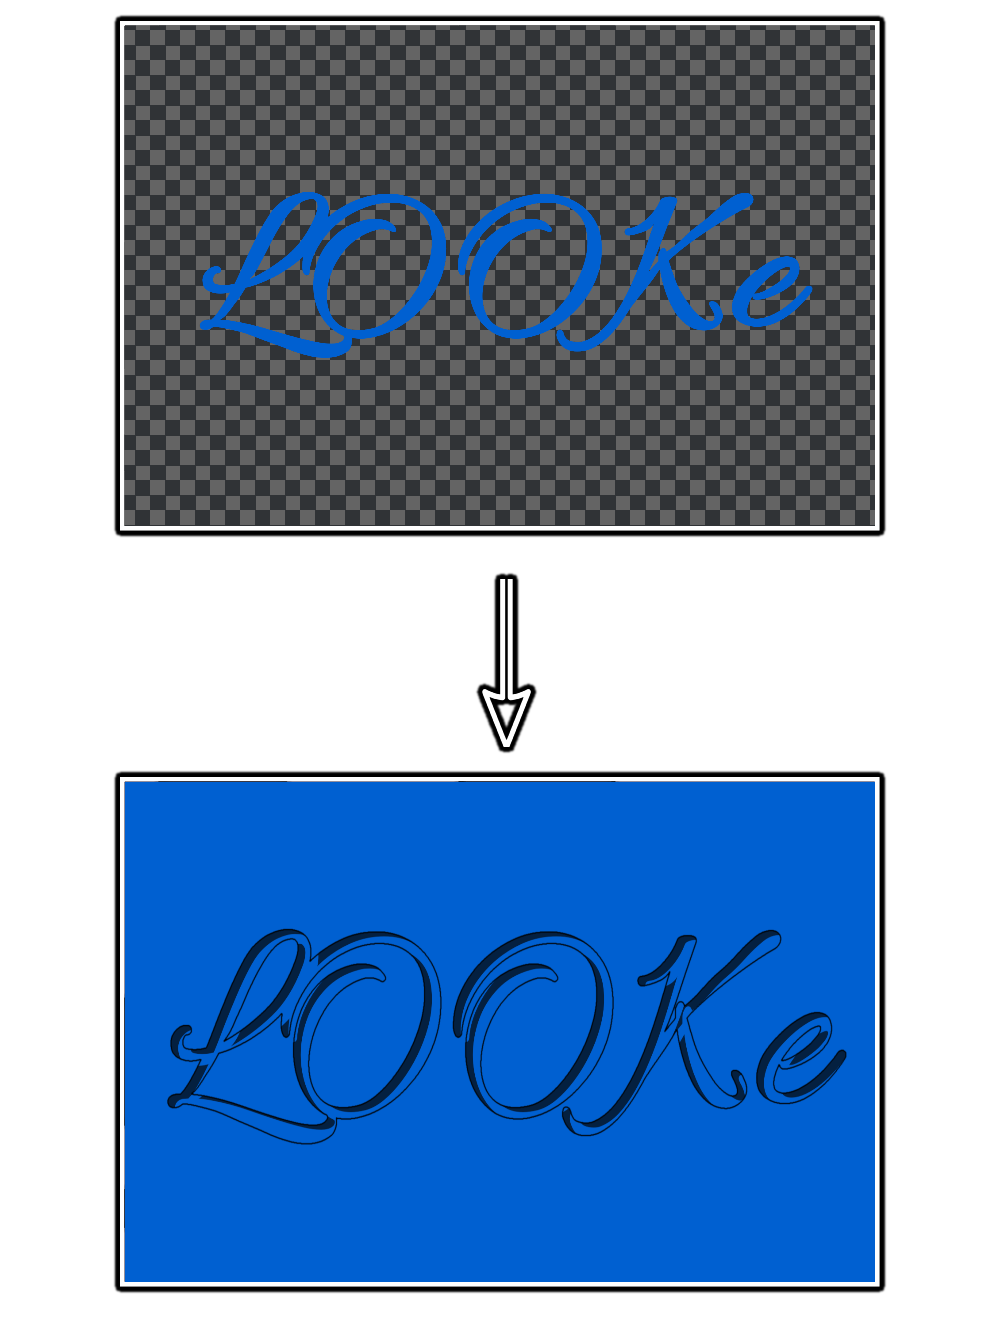
Text effect created by a sharp inner shadow with an outline
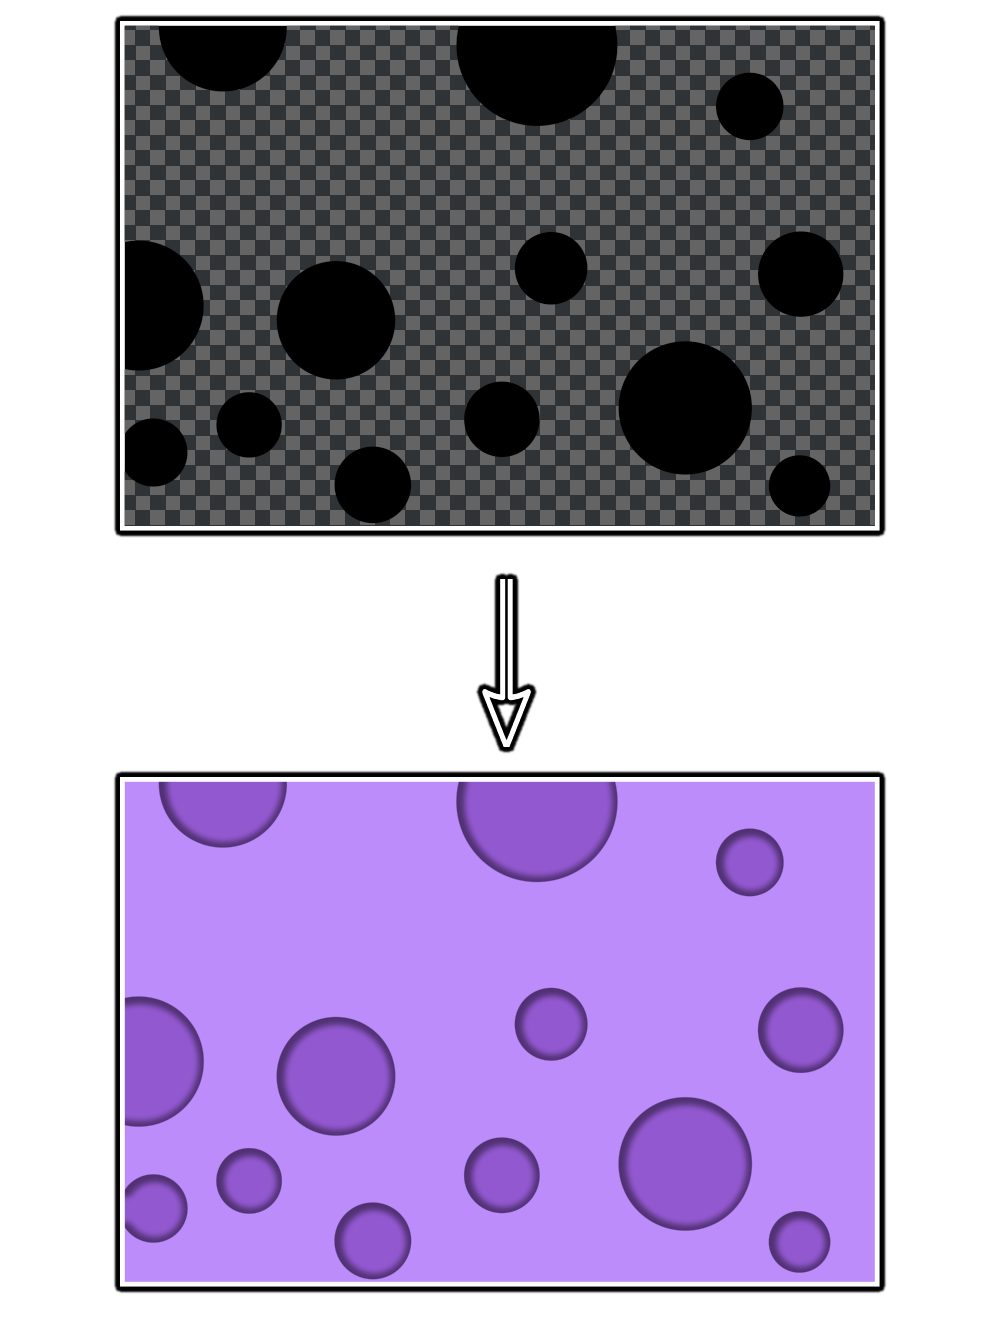
Engravings/holes are given depth with inner shadow, here coupled with a background fill
Blur can now be variable across the image, the strength of the blur is dictated by the strength map. This can give a much more realistic depth of field effect than the old way of mask mixing.Map based blur coupled with a soft light blend gives a nice tilt shift effect
Map based blur coupled with a radial gradient can give a fast and stylistic depth of field effect
One of the main improvements in Beta 3.1 is the sheer performance boost it offers, for both brushing and effects. Now real time brushing with effect updating is much smoother without requiring a beefy machine:Boosted performance leads to smoother brushing with effects and faster iteration and experimentation
Another 3.1 feature is the eyedropper histogram. Histograms give important information about your image, and as as you can see they can also give you a better understanding of what tools and nodes do to your image:Histogram can tell you a lot of information about your image
And finally, the clone tool, we added the "in-place" option. When this checkbox is checked, the current reference point is ignored, and the same place of the reference image will be cloned to the target image. If you edited an image, and only liked a certain part of it, now you can clone that part much faster without the slower process of mixing and masking.


Those were the new features highlights of the release, hope you will enjoy using them, but the real star of the show is the optimizations, improvements and quality of life changes that happened in this release that you can only experience by trying it for yourself, so grab it from here, and I hope you enjoy it.
Karaz Beta-2 is out, and the big new feature of Beta-2 is the brush system:
There are too many improvements and bug fixes in this release to cover all of them, but a few that stand out are:
The new redesign of Image to Channel node (I2C) is both simpler and more powerful than the old one, it basically functions as a RGBA channel mixer, but with other properties available like hue, saturation, and value. This allows it to do useful things that the older design could not.
For example of a use not possible with the old design, to remove the background from the edge node result -or any B&W image- you can use I2C to swap the alpha to any of the other channels, like so:

This can be done by:

another quality of life change is adding the ability to only apply the patter/noise to the opaque parts of the input. A very common application is text styling, in the older version you had to use channels to image node to get the RGB colors from the pattern, and the alpha from the text, like so:
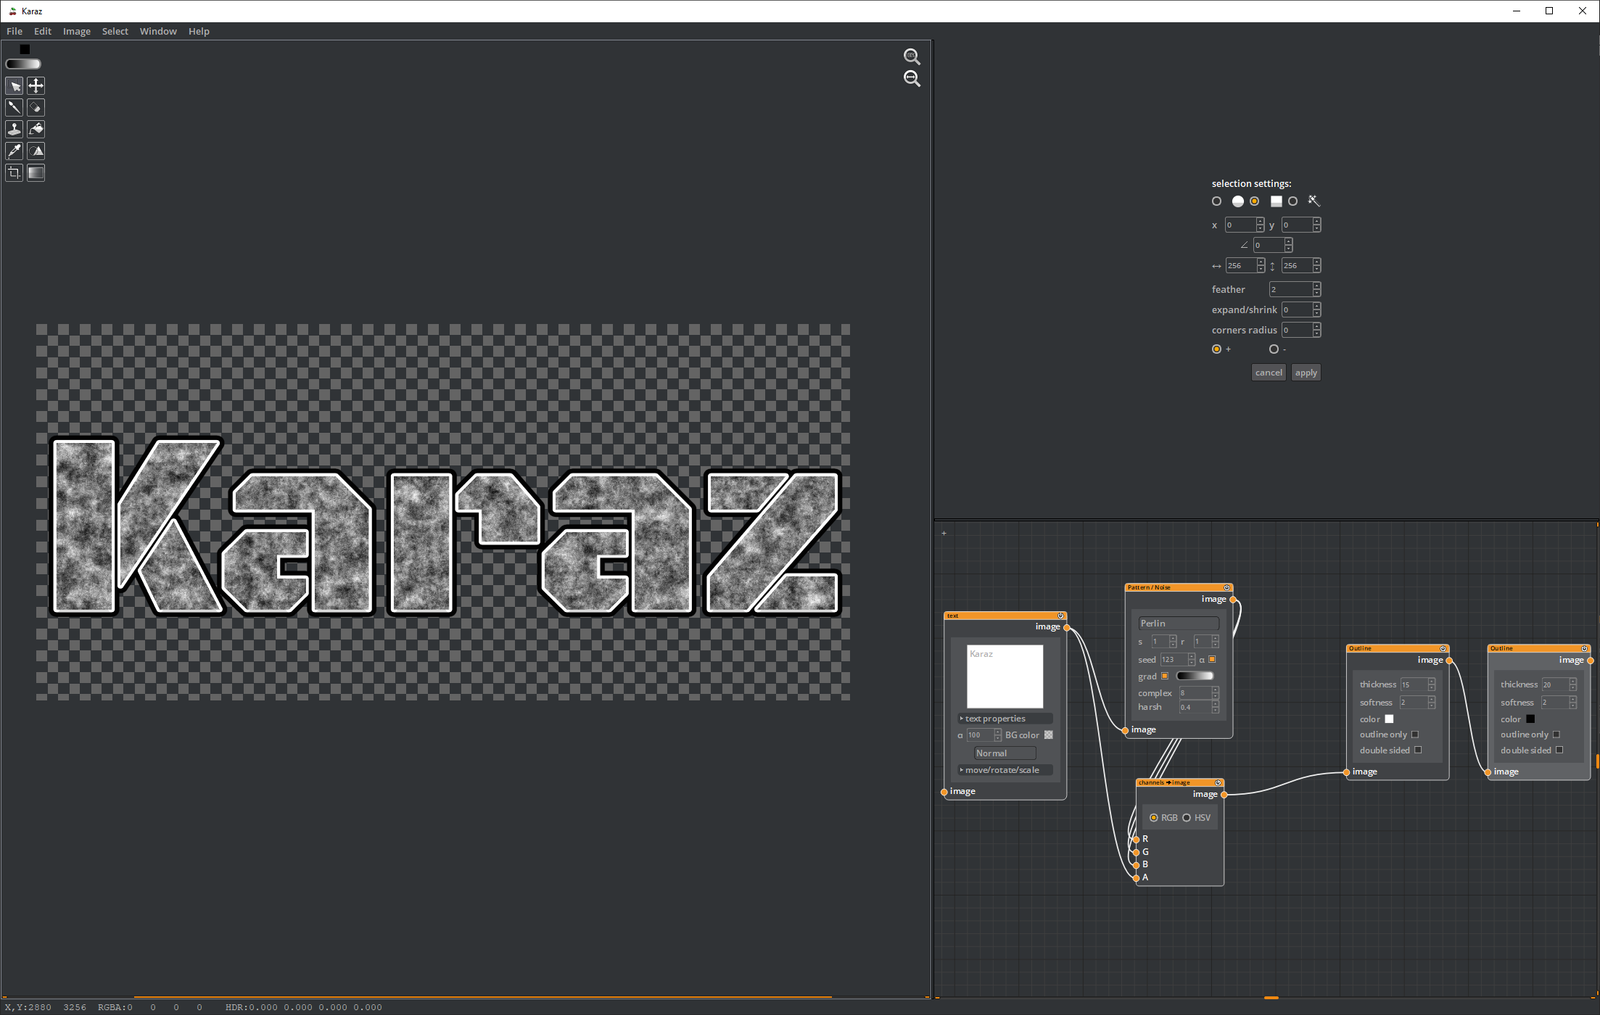
Now you can skip that and only use the affect alpha checkbox in the pattern node by itself:

Karaz now checks if there is a new version available at startup, and informs you with the option to download it.
You can get Karaz Beta-2 from here, hope you enjoy the new version of Karaz.
Karaz 0.1.0 aka Beta-1 is out!
Please check the introduction to Karaz and its basic tutorial videos:
Intro:
Basics:
For any questions, please visit the forums.
For comments and questions, please visit the forums